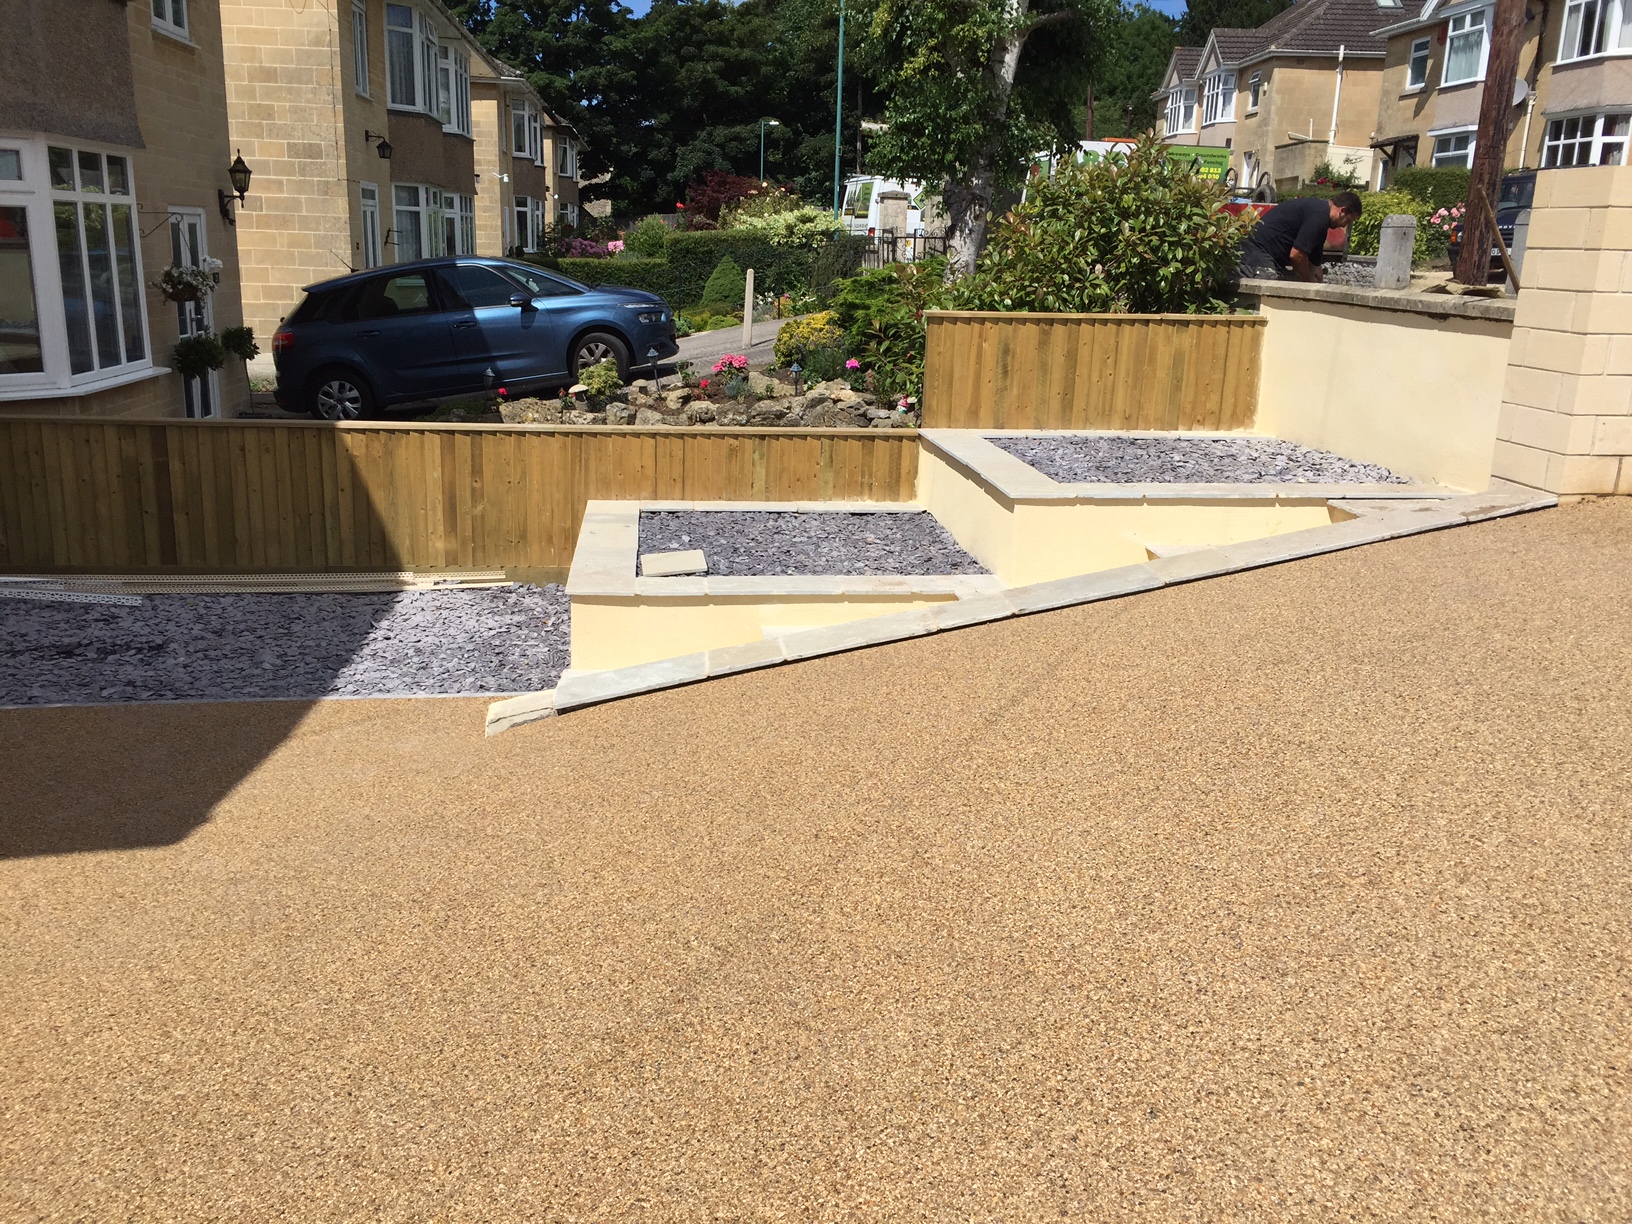
Asphalt or Tarmac as it is sometimes known is laid throughout North America, the UK and most of mainland Europe for surfacing roads, car parks and resin bound driveways. It is seen as a practical, relatively low cost surface but as with any other external product, over time the surface will start to deteriorate due to vehicle use, the effects of the weather and general wear & tear.
Asphalt or Tarmac when first laid is full of resins that act like a ‘glue’ holding the components of the material together. This resin ‘glue’ when mixed with various aggregates and pigments creates a form of bituminous concrete, commonley referred to as tarmac or asphalt.
When exposed to the elements for a number of years, UV light and water will start to have a adverse effect on the asphalt, causing the product to lose colour and generally fade from black to light grey in colour. This on going process of deterioration effectively means the resins within the asphalt are ‘drying out’ and the tarmac will often start to crack and break up. Ideally your asphalt has not reached this stage of deterioration, but if it has, don’t worry application of tarmac and asphalt restorers are easily applied and in most cases will restore the tarmac back close to its original condition.
Looking after your asphalt, not only makes sense by protecting your investment and keeping it looking good, but also often avoids the need for complete replacement of the driveway or car park.
Providing your tarmac is in relatively good condition, without large cracks or big holes, any repairs necessary should be a easy diy job with just a club hammer, bolster and a bag of cold lay asphalt, just chip out the damaged areas to a depth of about 3/4 of a inch, then fill in with the and compact down using the cold lay asphalt.
Before any repairs or application of any restoration can be considered the tarmac or asphalt driveway needs to be properly cleaned and then left to dry. If any oil stains are present these should be treated and nuetralised with a oil remover compatible for use with tarmac.
The best method of cleaning is by jet washing at low pressure, avoiding further damage to the tarmac and further possible stone loss. Make sure that all moss has been removed and any moss spores killed of with fungicidal wash. Once you are happy with your repairs and the surface is totally dry, application of the tarmac restorer can begin using a roller kit to the main areas and a paint brush to the borders.
With most asphalt or tarmac restorers on the market so they can dry properly they need to be applied in temperatures above 10 degrees with no precipitation forecast for a few hours after application. Before you start applying the material make sure it has been thoroughly stirred with no sediment left at the bottom of the tub. This mixing is best be carried out with anything from a stick, or a idealy a ‘mixing paddle’ connected to a drill.
If your driveway is adjacent to a neighbours, near to a flower bed or lawns, these areas should be masked off with tape, or planks of wood to avoid overspill. My advice on applying the material would be to use a heavy duty industrial roller kit with a long handle rather than the flimsy diy alternative which is not really up to the job. With the right type of roller kit the application of the product could not be simpler, with the overall result leaving the surface protected and often making the tarmac look just as good as new in just a few hours.
Normally unless the asphalt is in very good condition, two coats of material will need to be applied to give a high quality uniform finish (remember to check manufacturers recommendations for coverage ratios) With most products on the market it is important that vehicles are kept of the surface for at least 24 hours but normally it is only two to three hours before it can be walked on.